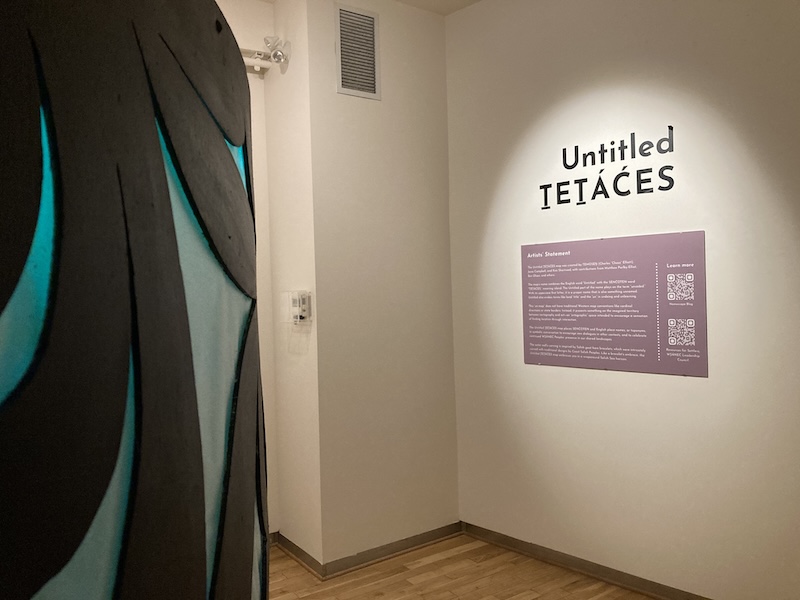
Building the first haptic map: the Untitled ṮEṮÁĆES map gallery

Click here to see the Untitled ṮEṮÁĆES map construction gallery
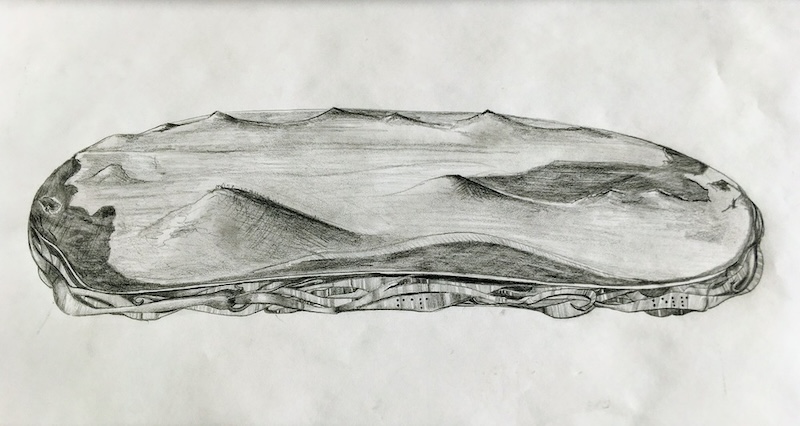 1. The first sketch of the map concept, which was was originally a table-top design of some kind.
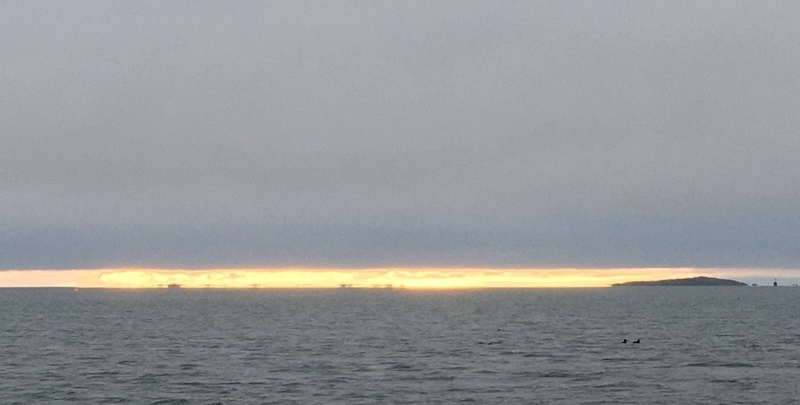 2. This picture was taken by Kim while paddle boarding one early spring morning. It was seeing that floating clouds that inspired the idea to be within rather than above a map.
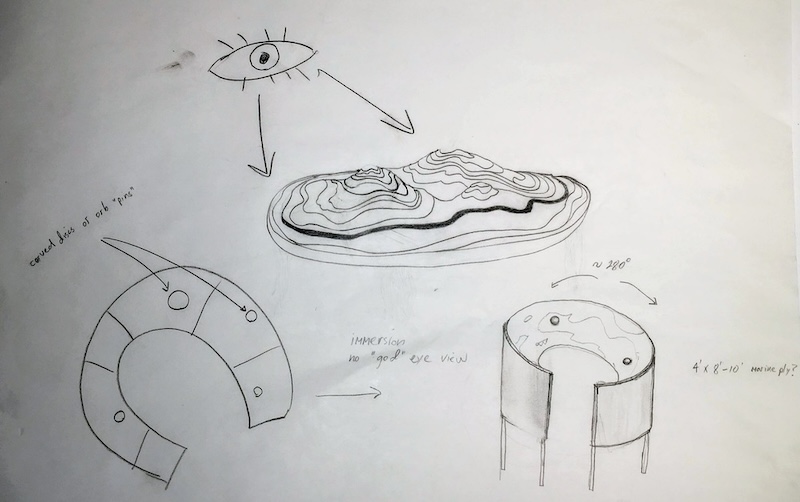 3. Sketching ideas for a wrap-around map concept.
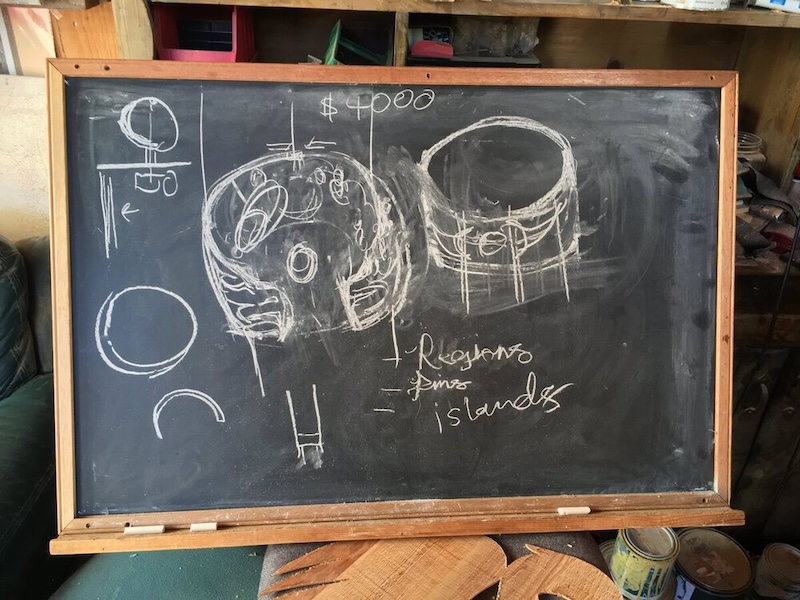 4. We carried the concept in the paper drawing over to the studio. This is when TEMOSEṈ pointed out that the design looks a lot like a traditional Coast Salish goat horn bracelet.
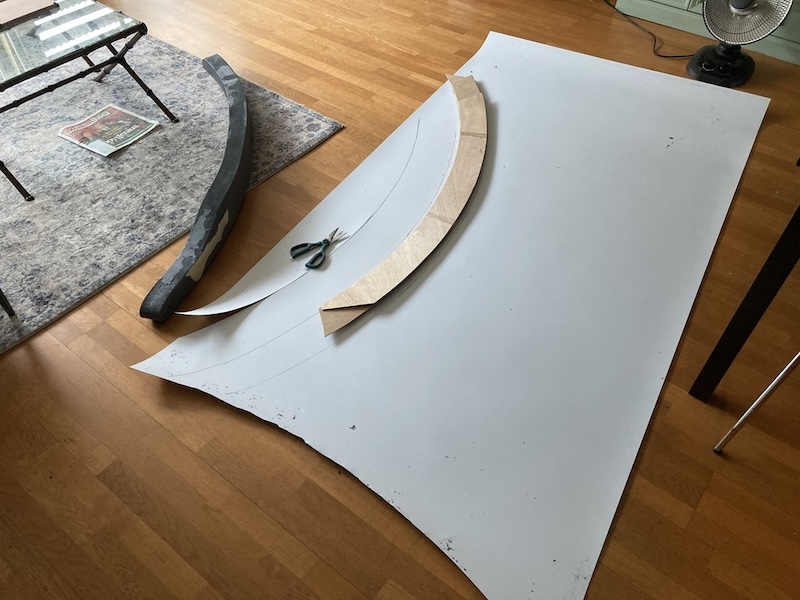
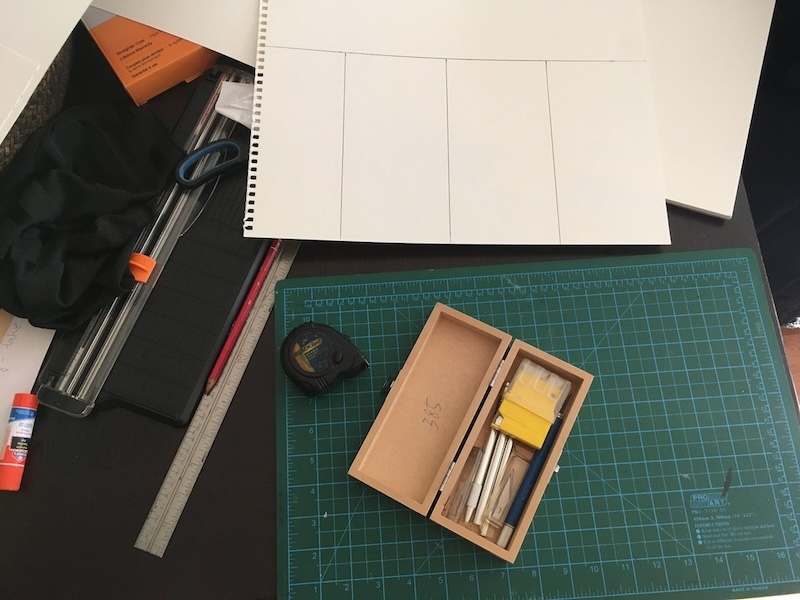 5. Starting the scale model (1:12 scale), or maquette, for the new design, made out of paper (card stock).
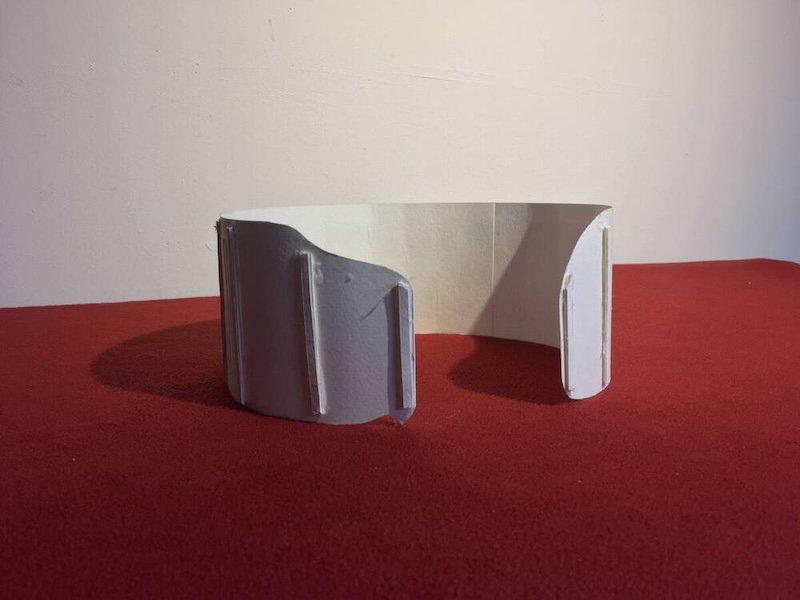 6. The inner wall for the maqutte.
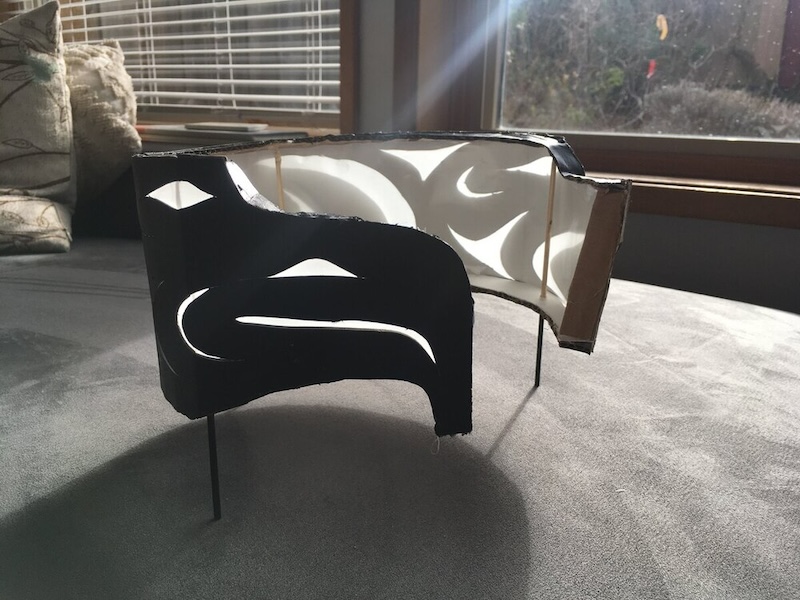 7. Farther along, now, with the carved wall added and the translucent paper in place.
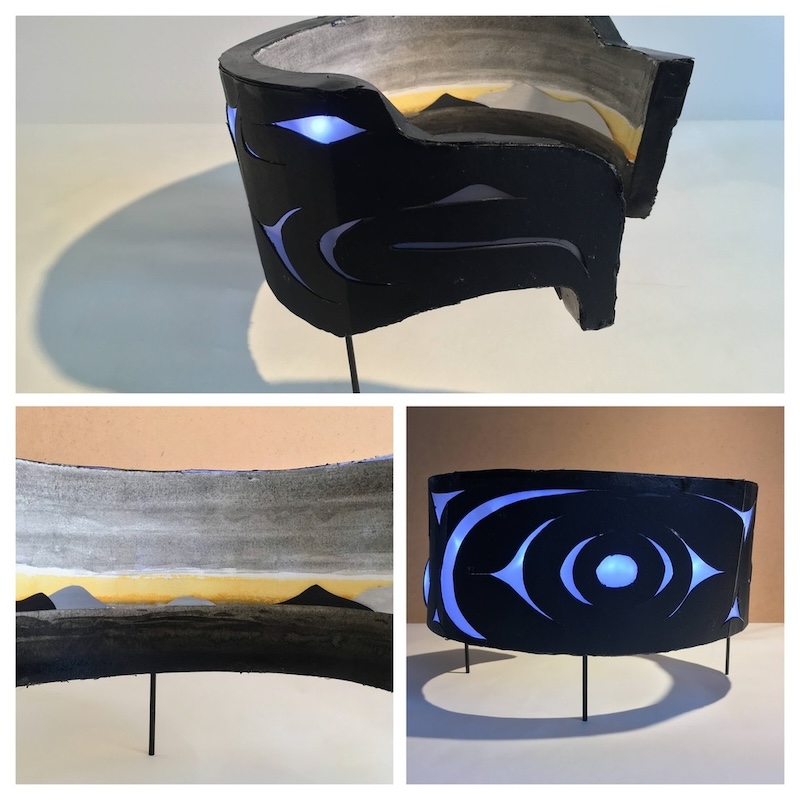 8. Completed maquette. Note the embedded lighting.
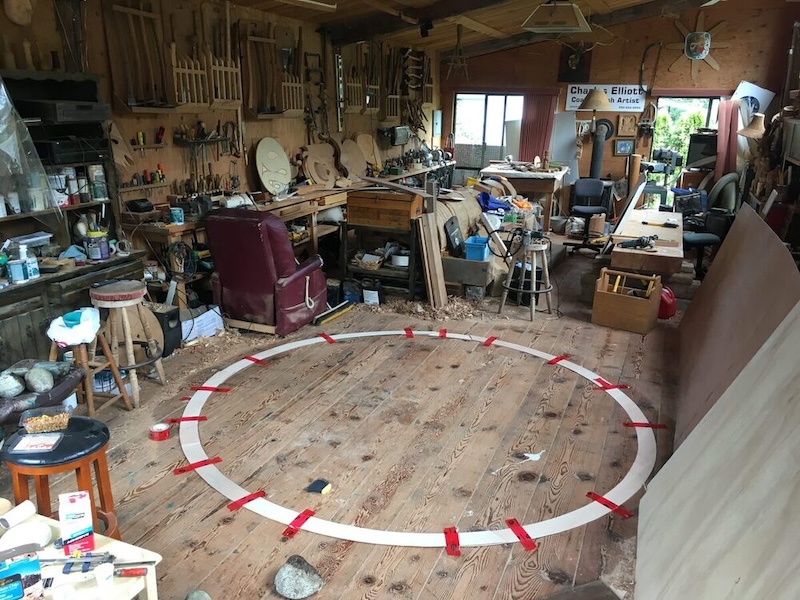
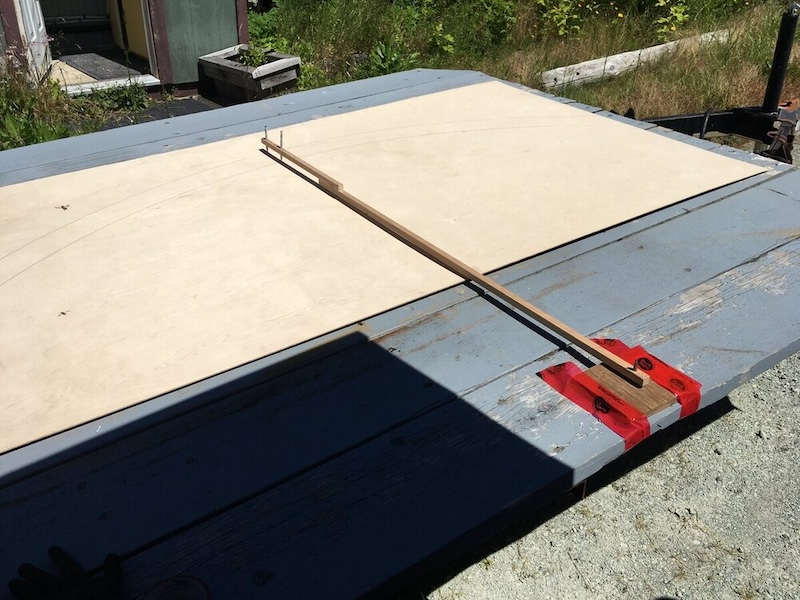 9. Moving on to the full scale construction, now. We built the top and bottom rings, to which the outer and inner walls attach, out of 1/4" plywood sheet. But we needed to make a large circle of even thickness, so we built a large protractor out of scrap wood.
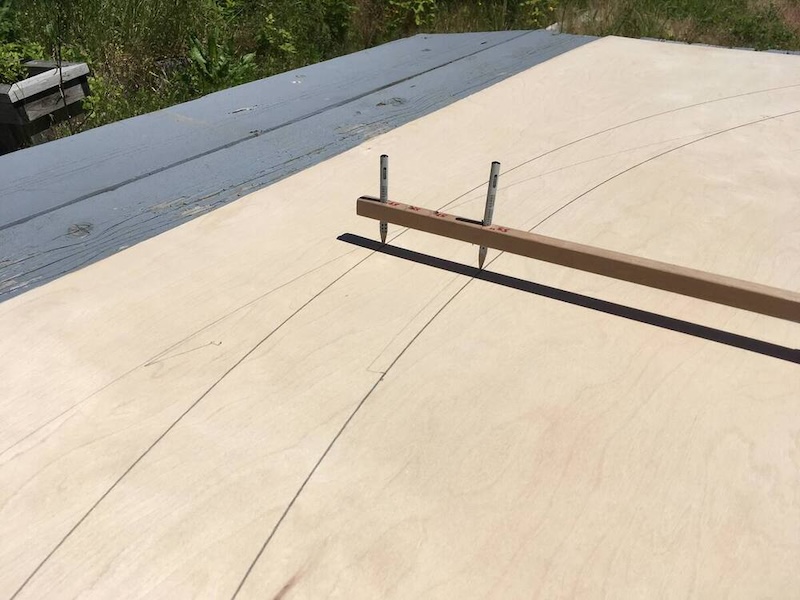 10. Closeup of the protractor in action. It worked better than expected.
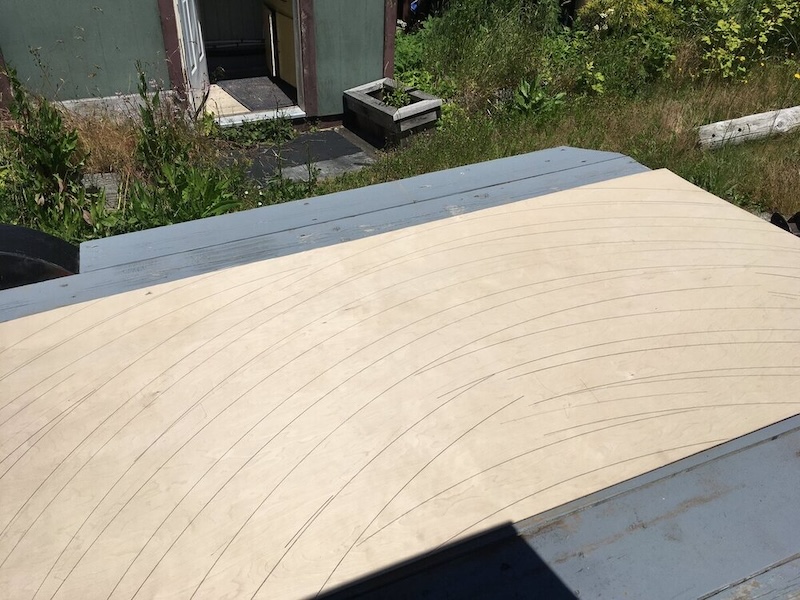 11. Ready to use the jigsaw to cut out the pieces of the circle shape.
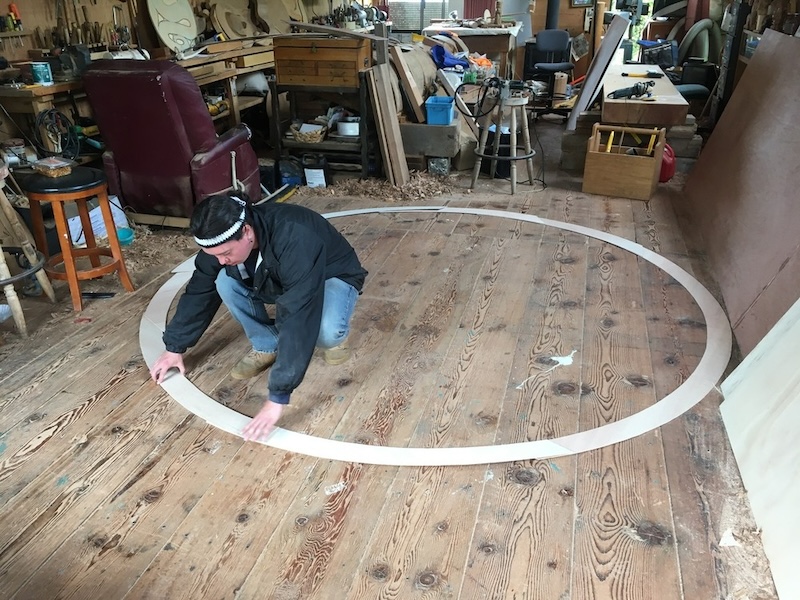 12. TEMOSEṈ in the studio, layering the circle pieces together for gluing. We would cut the entrance in later, once we confirmed the length needed for the inner and outer walls.
 13. Waiting for epoxy to cure. We taped every seam down to prevent shifting.
 14. Midway through gluing the inside wall lengths together.
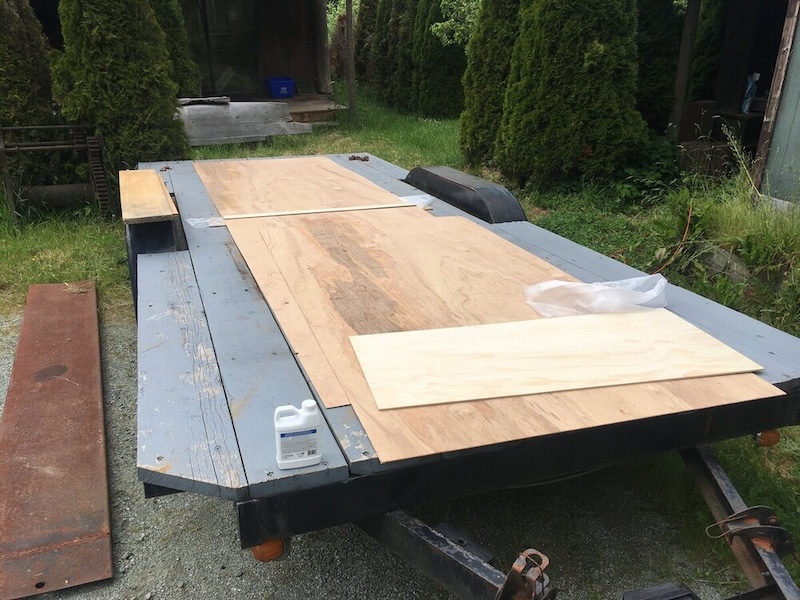
 15. Three 4'x8' sheets of plywood glued together with epoxy. They were hilariously difficult to move around: it was like wrestling an oarfish.
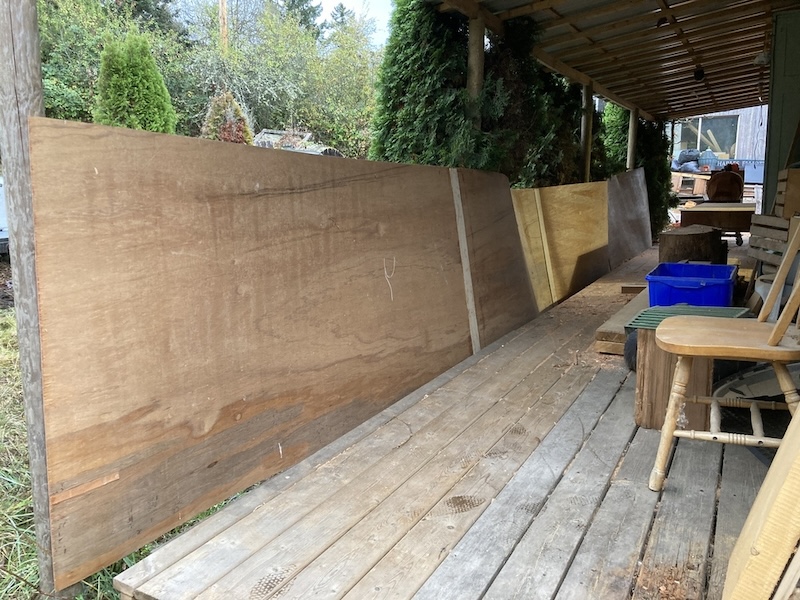
 16. It took many weeks of gluing and clamping in a kind friend's nearby garage to add structure to the curved panels.
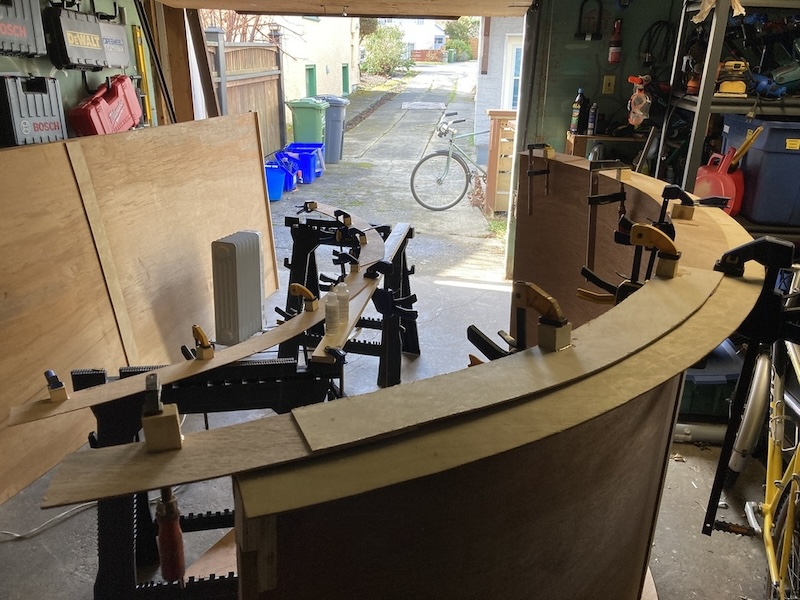
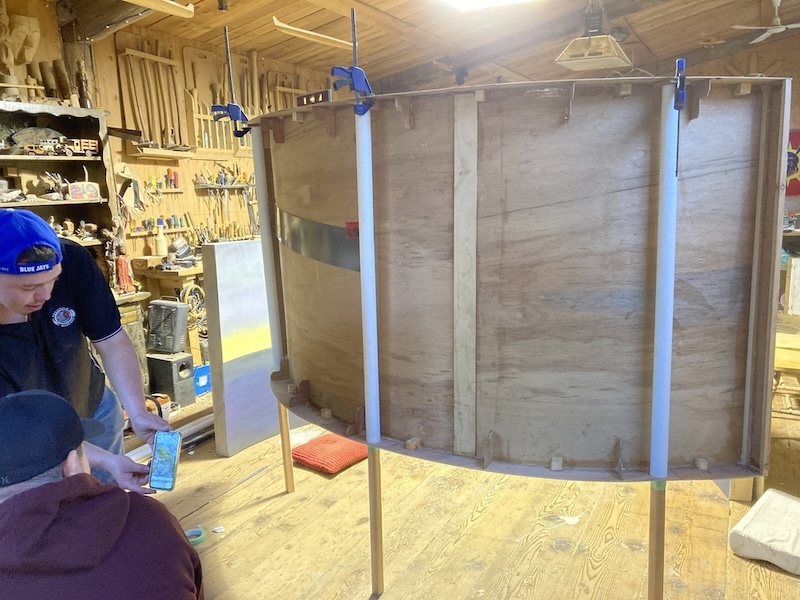
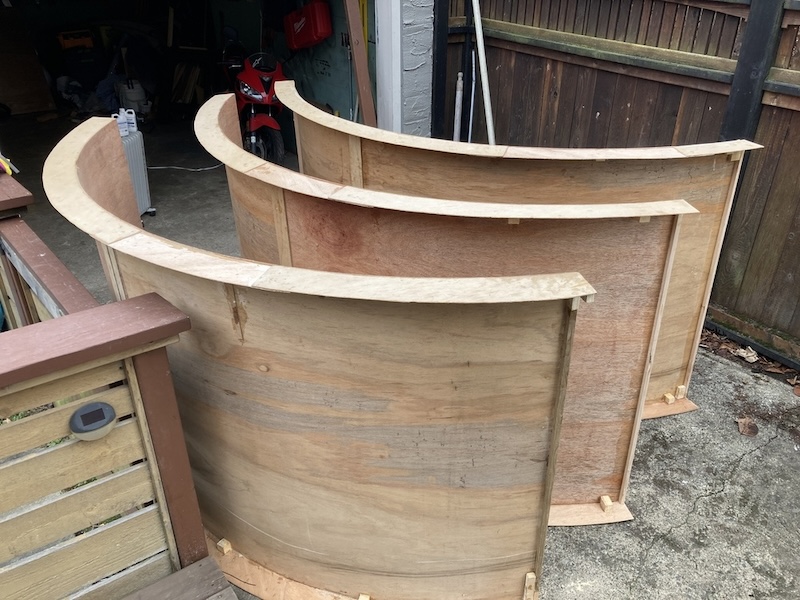 17. The basic ring structure is complete. We divided the large circle into three parts so that they could stack together and fit in the back of a pickup truck or van.
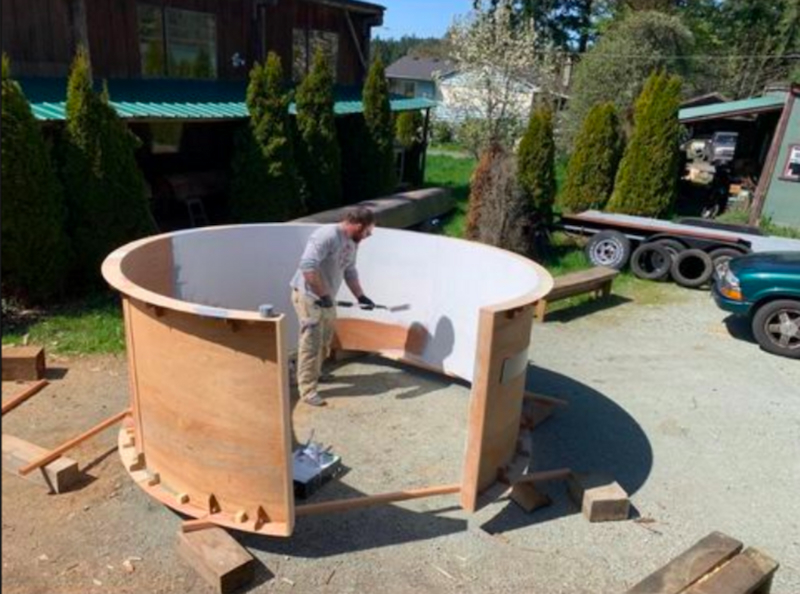
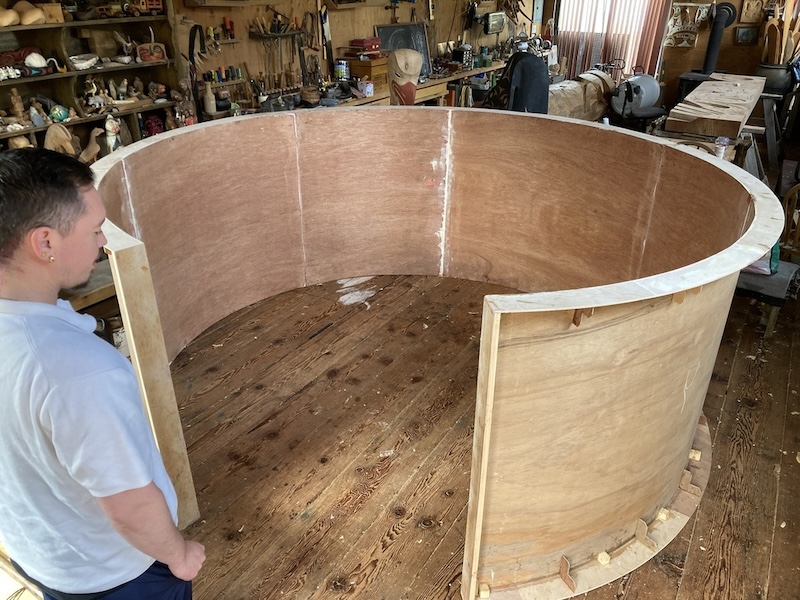 18. This was a big day! Back in the studio, TEMOSEṈ and I lined up the panels to see how they fit together.
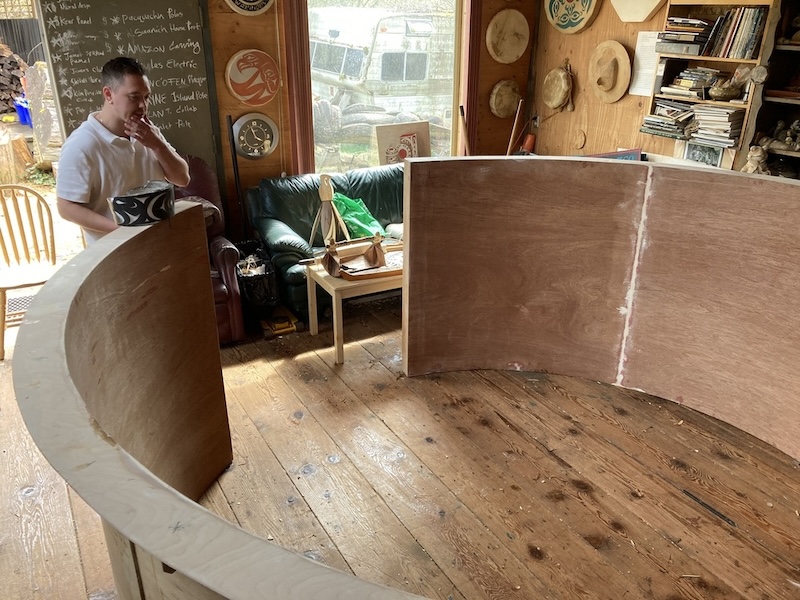 19. Things lined up well enough to continue, and we were happy with the size of the entrance.
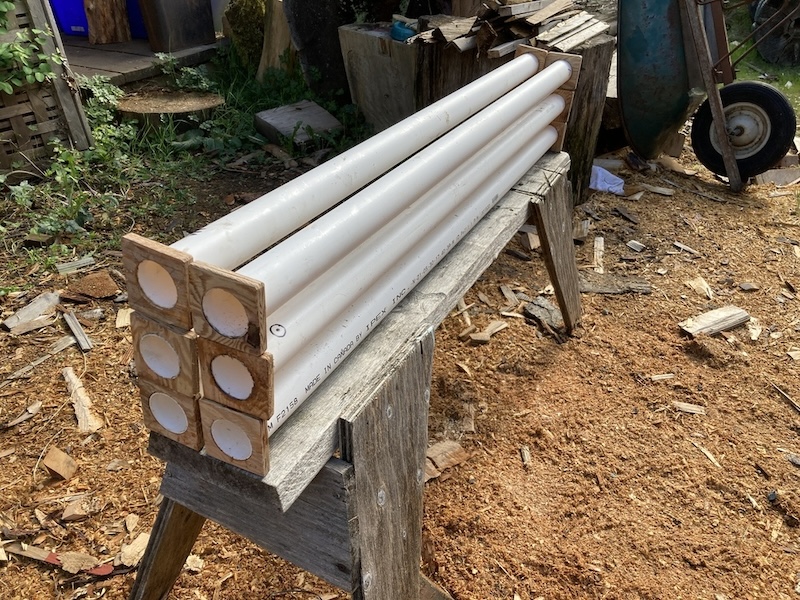 20. We next had to figure out how to make the legs for the supports work. They had to be light, strong, and durable. We ended up epoxying some wooden plates to the ends of PVC pipe. Then, we would slide 2"x2" cedar lengths into the pipe.
 21. Success! The 2"x2" cedar lengths fit into the PVC pipes perfectly. In this image, we have clamped the PVC pipes in place and we are waiting for the epoxy to cure.
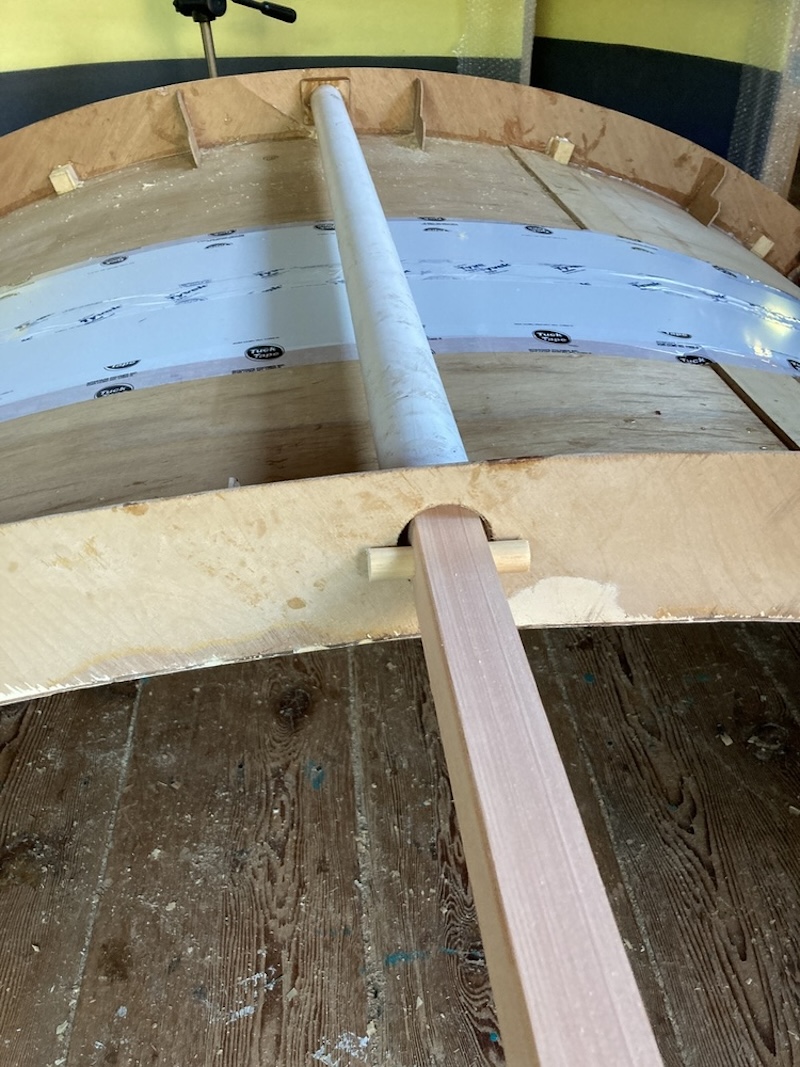 22. We set the height of the legs by drilling holes in the 2"x2" cedar lengths, and then sliding a dowling peg in place. With the pegs removed, the legs can be tucked up into the piping for easier transport of the panels.
 22. The panels were coming along nicely, so it was time to design the carved sheets that would go on the outside walls of the panels. TEMOSEṈ made a scale model out of paper.
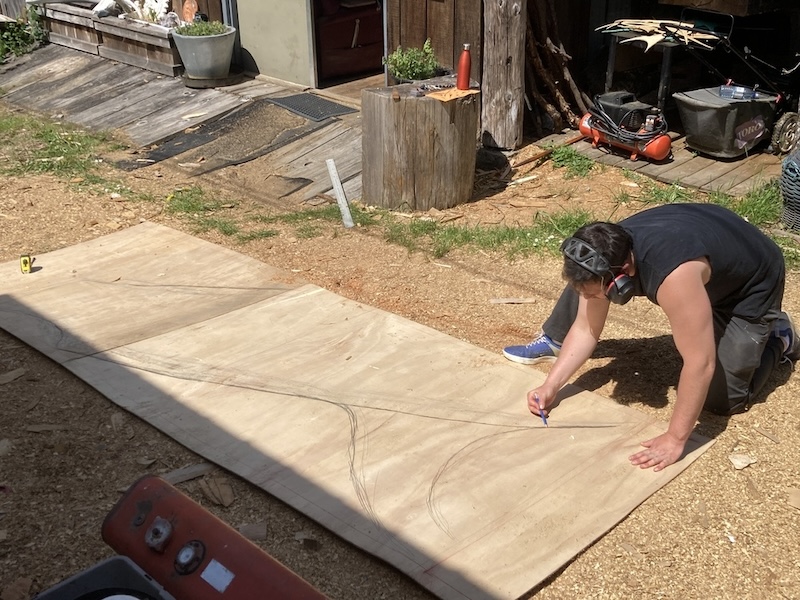 23. The art of turning the model into reality. TEMOSEṈ used a lifetime of experience and practice to freehand the design at the correct scale onto the panels.
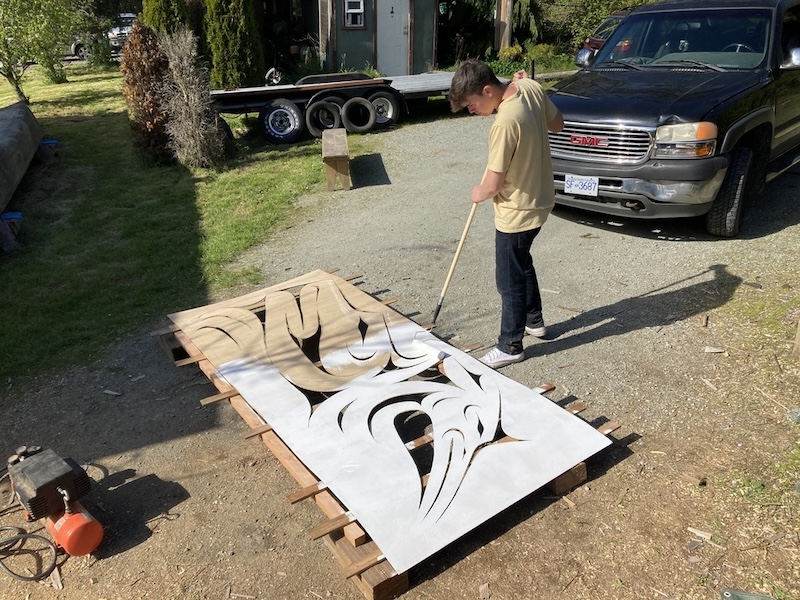
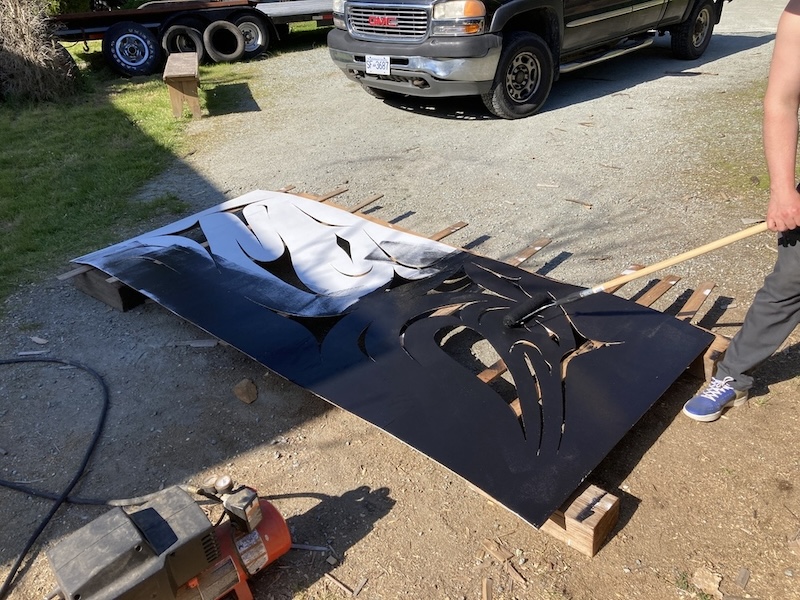
 24. The first of the outside panels cut and ready for primer.
 25. Matt laying some primer onto an outside panel.
 26. TEMOSEṈ laying some black paint onto an outside panel.
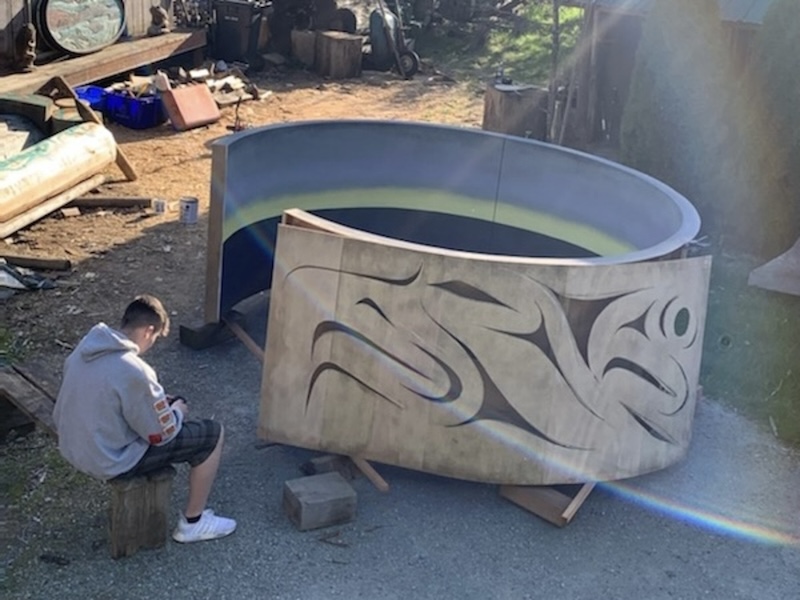
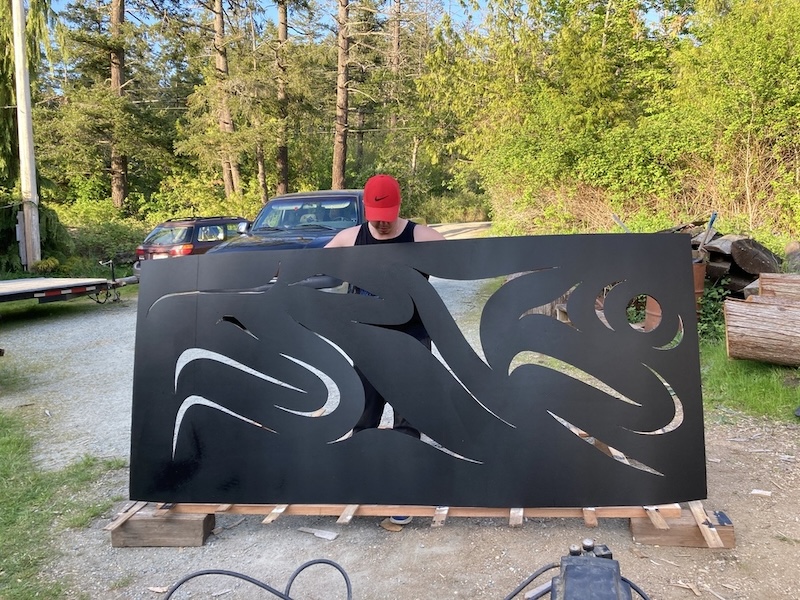 27. TEMOSEṈ holding up the first completed panel!
 28. Meanwhile, we still had work to do on the inside panels. Jesse Campbell, who painted the seascape on the inside of the map, applies some primer.
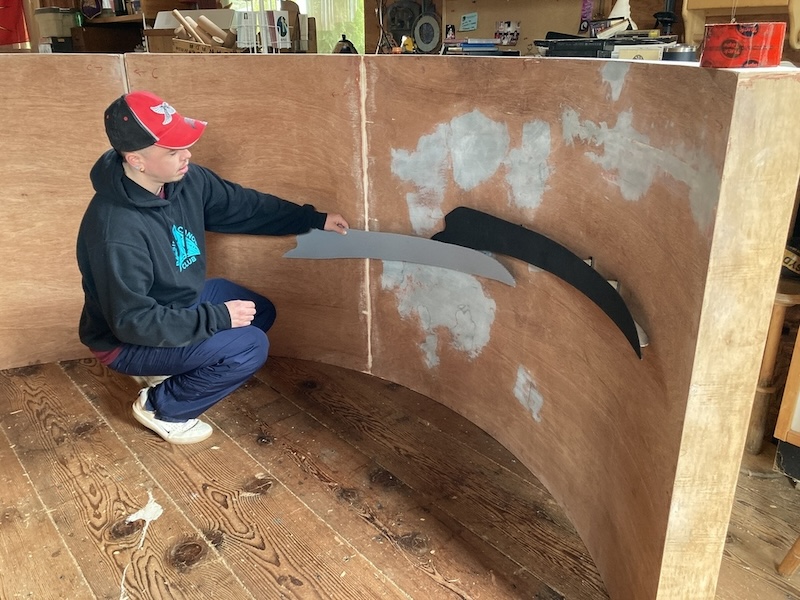
 29. The islands in the installation are held in place with magnets on their back surface. But, the magnets have to stick to something. It took a lot of trial and failure to finally find what worked: painted steel roofing flashing, show here being fitted in place.
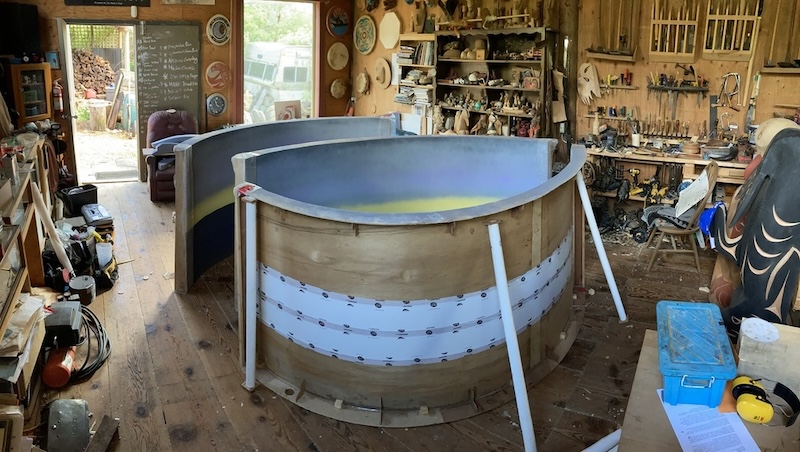 30. Things were starting to come together at last. We finally had the map back in the shop, now with its painted horizon, and its various elements making good progress.
 31. Matt taking a well-earned break on a warm evening after confirming the fit of another outside panel.
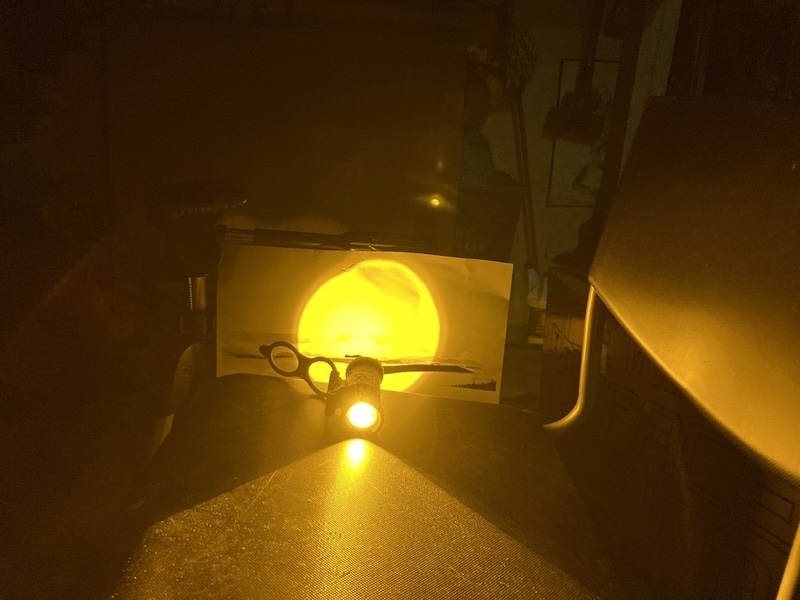 32. We also had to build the islands for the piece. To get their outline perfect, Kim printed off an image of each island and cutout its shape. Then, he used a light to project the island's outline onto a sheet of plywood.
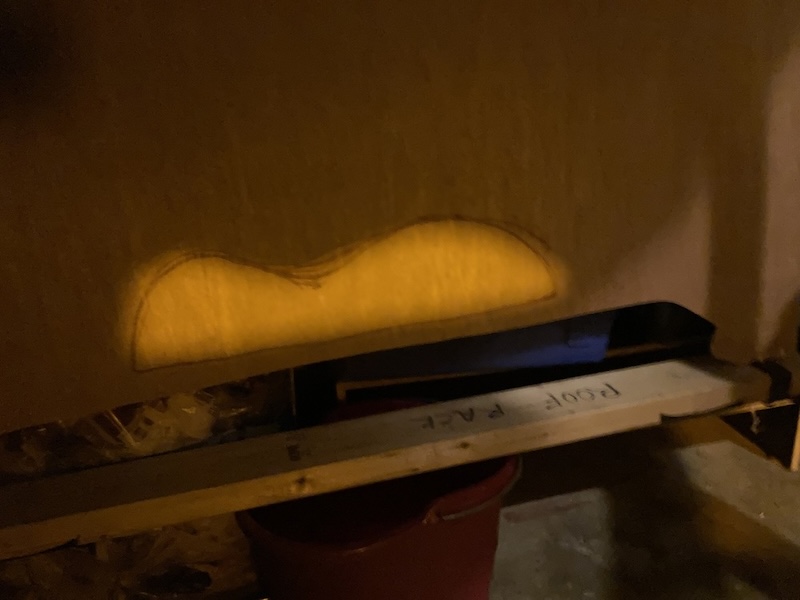 33. It took a while to figure out, but once the light was in the right place, the outline of each island could be traced accurately and easily.
 34. We had to get the scale of the islands just right. Too small and they looked silly. Too big and they would be too heavy to magnetize to the wall. Eventually, we found the size with which we were happy.
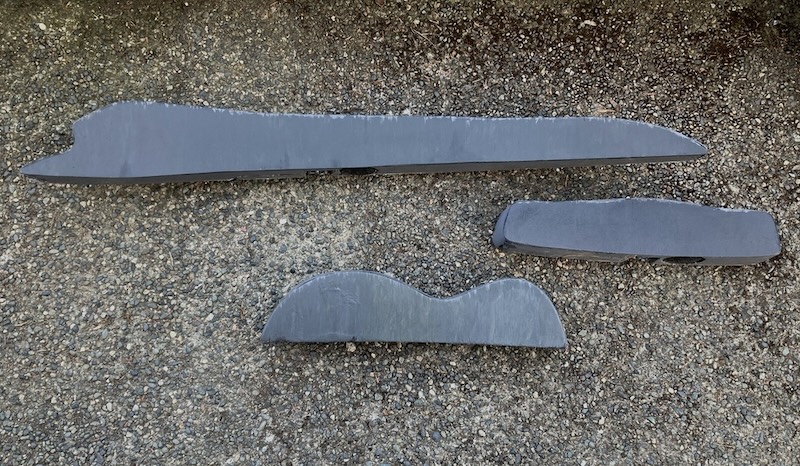
 35. We used a mix of house-insulation foam, plywood, and fexlible plastic sheeting to construct the islands.
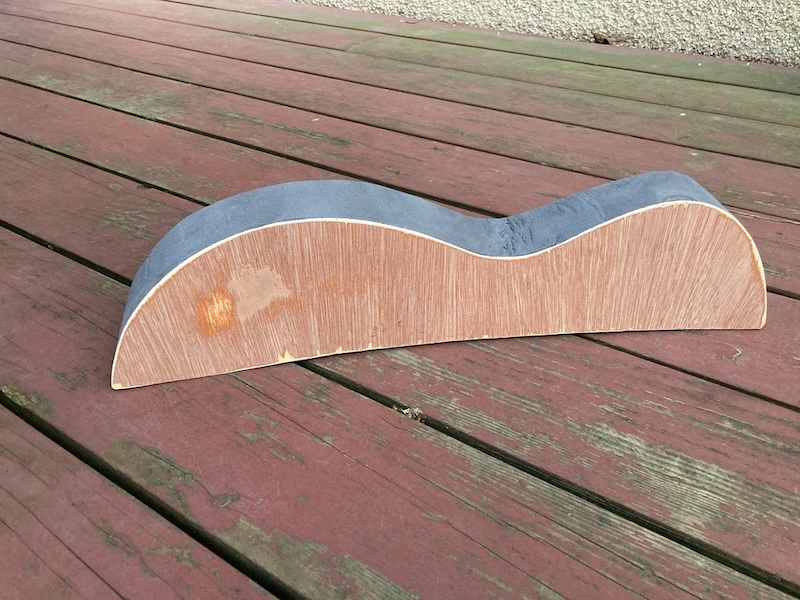 36. Front view of an island, about half finished.
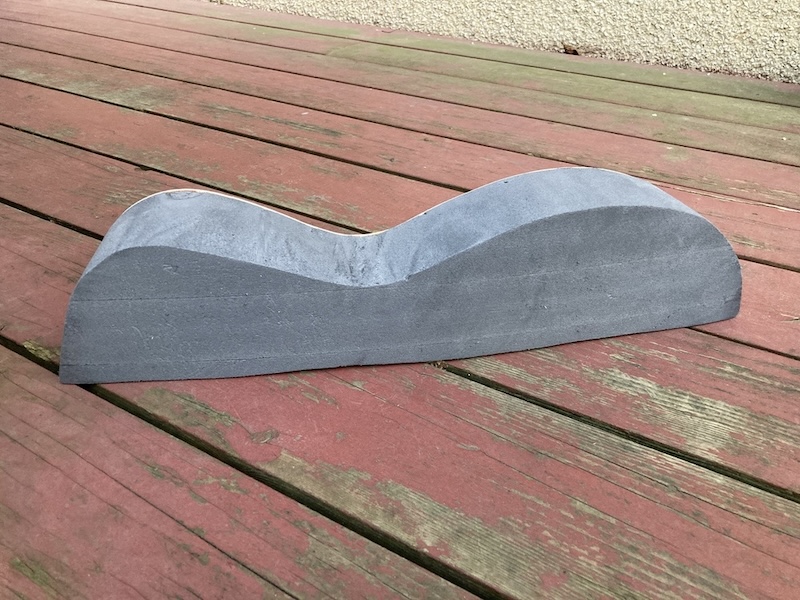 37. Back view of the same island.
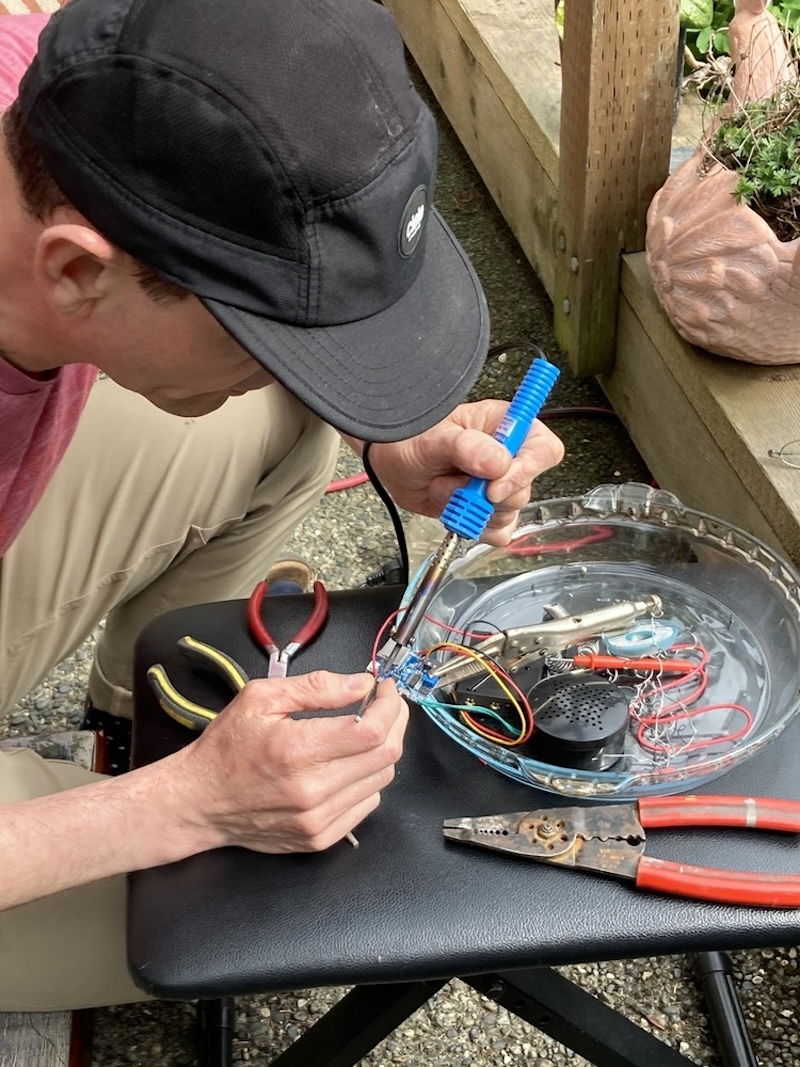 38. Kim solders battery poack and speaker wires to the mother board and motion senseors, so that the islands can speak aloud their SENĆOŦEN and English language names when moved.
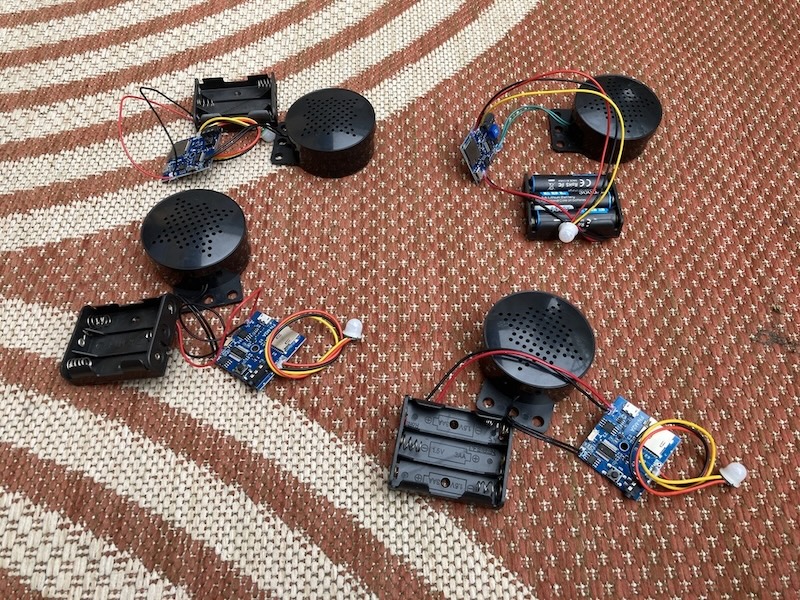 39. Four motion sensor units fully assembled and ready to embed in the back of each island.
 40. Three islands painted and ready to use on the Untitled ṮEṮÁĆES map.
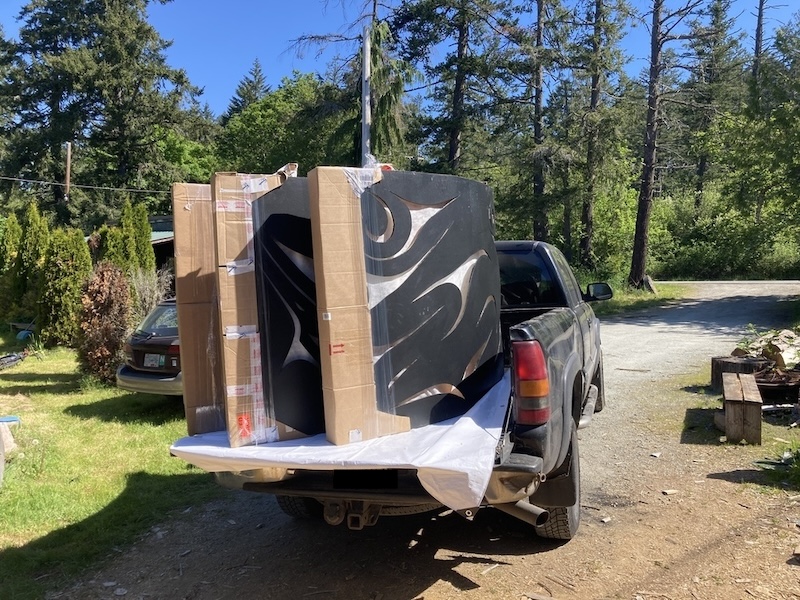 41. Another big moment was when we confirmed that the Untitled ṮEṮÁĆES map could fit in the back of TEMOSEṈ's truck!
 42. The Untitled ṮEṮÁĆES map was shown as part of Kim's PhD defense, but its first, big public show happened on SḴŦAḴ/Mayne Island, as part of the 2023 Campbell Bay Music Fest.
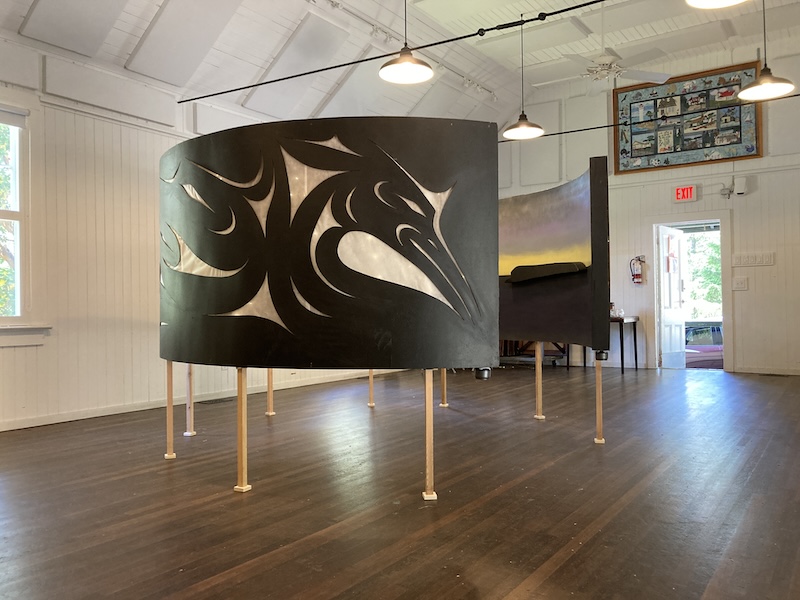
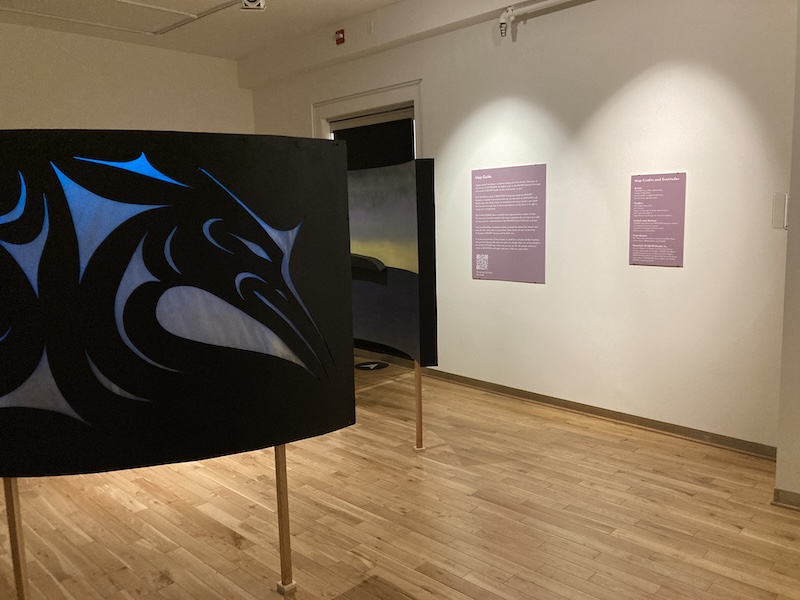
 43. For the Untitled ṮEṮÁĆES map's show at the Legacy Gallery, we finally added the lighting and sound elements (an ocean soundscape) and it finally feels done, at least for now!
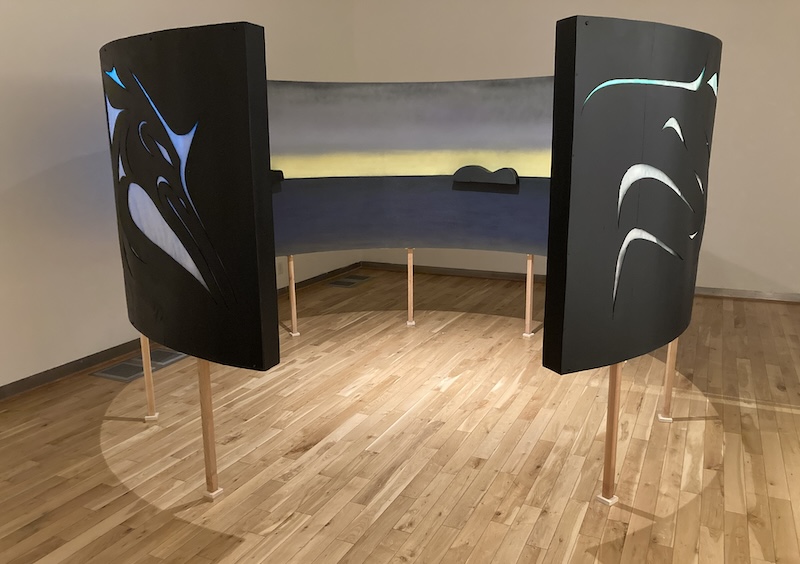 44. The Untitled ṮEṮÁĆES map is ready to invite you in to explore.
 45. We plan to show the Untitled ṮEṮÁĆES map in other venues in the coming years. Check out the Updates page for the latest information.
If you have any questions, especially if you are making your own map, please get in touch using the contact form at the bottom of the page. Thanks!